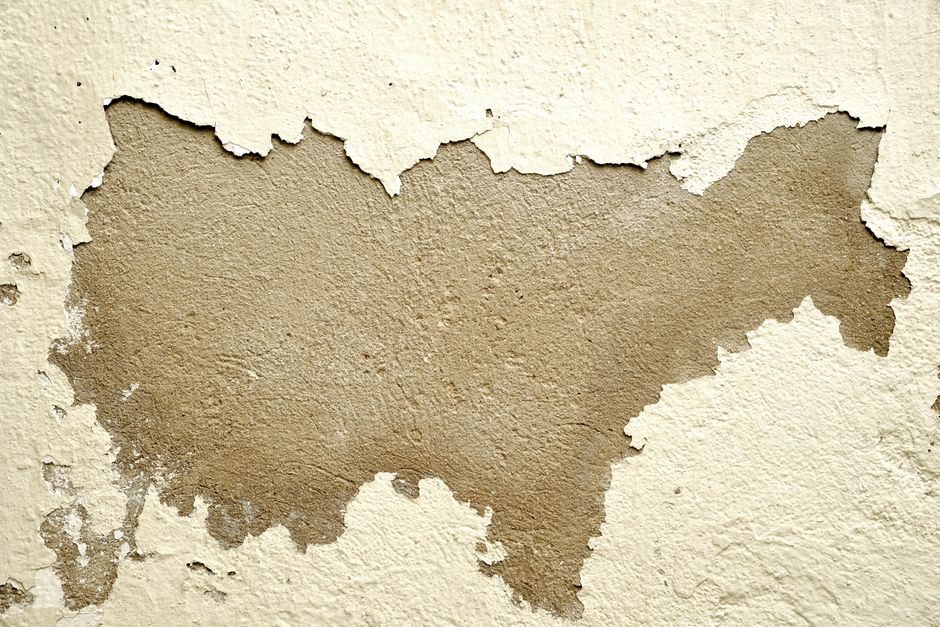
Water damage is the single most destructive force acting on drywall in Ontario homes. Whether it’s a burst pipe in January, a roof leak during an ice storm, or slow condensation building up behind an exterior wall, water turns drywall from a durable building material into a crumbling, mould-prone liability. This guide walks Hamilton homeowners through exactly what to do – and what not to do – when water damage hits your walls or ceilings.
Step 1: Stop the Source First
This sounds obvious, but it’s the step most homeowners skip in the panic of a leak. Patching drywall before the moisture source is fixed guarantees you’ll be doing the same repair again within a year. Before any drywall work begins:
- If a pipe is leaking, shut off the water and call a plumber
- If the roof is leaking, have it inspected and sealed before touching interior walls
- If the issue is condensation or vapour drive, address insulation and vapour barriers first
- If a basement is flooding, identify the entry point and waterproof before refinishing
A reputable drywall contractor will not patch water-damaged drywall without confirmation that the source has been resolved.
Step 2: Document Everything for Insurance
Before removing or touching any damaged material, photograph everything. Ontario homeowner’s insurance policies typically cover sudden and accidental water damage – a burst pipe qualifies, gradual seepage usually does not. Your documentation should include:
- Wide shots showing the full affected area
- Close-ups of staining, softness, mould, or structural damage
- Photos of the source (if visible) before it’s repaired
- Time-stamped images if possible
Contact your insurer before starting any repairs and ask whether they require an adjuster visit. Proceeding without approval can affect your claim.
Step 3: Dry Out the Area Completely
Mould can begin colonizing wet drywall within 24 to 48 hours in Ontario’s humidity conditions. Once the source is stopped, aggressive drying is the priority. Professionals use industrial dehumidifiers and air movers to draw moisture out of wall cavities and structural framing. For homeowners managing a smaller leak:
- Run dehumidifiers continuously in the affected space
- Open windows when outdoor humidity is below indoor levels
- Use fans to circulate air across wet surfaces
- Remove baseboards to allow airflow behind the wall base
Do not close up walls or apply new drywall until moisture readings in the framing are below 15% – a figure that requires a moisture meter to verify accurately.
Step 4: Assess Whether Drywall Can Be Dried or Must Be Replaced
Not all water-damaged drywall needs to be replaced. Here’s a practical breakdown:
| Condition | Recommendation |
|---|---|
| Surface staining only, drywall still firm | Dry thoroughly, apply stain-blocking primer, repaint |
| Drywall soft or crumbling in any area | Replace – compromised drywall cannot be restored |
| Any visible mould growth | Replace – do not attempt to clean and reuse |
| Insulation behind wall is wet | Remove and replace insulation before closing wall |
| Framing shows mould or dark staining | Treat framing with antimicrobial solution before re-drywalling |
Step 5: Mould Remediation Before Drywall Replacement
If mould is present – even a small amount – it must be properly remediated before new drywall goes up. In Ontario, significant mould growth (over 1 square metre) legally requires a licensed remediation professional. For smaller affected areas, the process involves:
- Wearing appropriate PPE (N95 mask, gloves, eye protection)
- Sealing off the work area to prevent spore spread
- Removing and bagging contaminated drywall in sealed plastic
- Treating exposed framing with a registered fungicidal solution
- Allowing treated surfaces to fully dry before re-enclosing
Never simply paint over mould or seal it behind new drywall. The mould will continue growing and the problem will return – often worse.
Step 6: Replace Drywall With the Right Product
In any area with previous moisture issues, standard drywall is not the right choice for replacement. Upgrade to moisture-resistant or mould-resistant drywall products:
- Green board (moisture-resistant) – Suitable for bathrooms, laundry areas, and kitchens
- Purple board (mould- and moisture-resistant) – Recommended for previously affected areas or high-humidity spaces
- Cement board – Required in direct-contact wet areas like shower surrounds and tub enclosures
Using the right product from the start reduces the likelihood of a repeat situation significantly.
How Much Does Water Damage Drywall Repair Cost in Hamilton?
Cost varies depending on the scope of damage, whether mould is involved, and what upgrades are made during repair. General estimates for Hamilton homeowners:
- Minor staining repair (dry, no mould): –
- Single wall section replacement: –
- Water-damaged ceiling (per area): – ,200
- Full room re-drywall after flood: ,500 – ,000+
If insurance is covering the repair, your contractor should be able to provide documentation and itemized invoicing that aligns with your claim requirements.
Hamilton Drywall Repair: Water Damage Specialists
We’ve helped hundreds of Hamilton homeowners recover from water damage – from ice dam repairs in the winter to basement flooding in the spring thaw. We work alongside plumbers, roofers, and insurance adjusters to make the repair process as straightforward as possible for homeowners.
If your home has been affected by water damage, contact Hamilton Drywall Repair today for a free assessment and written estimate.
Not sure if water damage repair is something you can tackle yourself? Our DIY vs. professional drywall repair breakdown covers exactly when a patch kit is enough and when it isn’t.
Not sure how much time you have before water damage becomes a mould problem? Our guide on how fast mould really grows after water damage breaks down the actual timeline.
Not all moisture damage comes from a sudden event – late summer humidity causes its own slower-building version of the same problem. See why August is prime time for moisture damage in Hamilton for how to spot it.
Water damage in a rental unit raises a different question landlords need to think through – who pays. See drywall damage and tenant turnover in Hamilton: what landlords need to know for how to tell normal wear from chargeable damage.
Related Reading
- Drywall Repair Cost Guide for Hamilton, Ontario Homeowners (2026)
- 8 Signs Your Hamilton Home Needs Professional Drywall Repair
- Professional Drywall Repair Near Me: Hamilton’s Complete Guide to Local Services and Costs
Also worth reading: Drywall vs. Plaster: Which Is Better for Older Hamilton Homes?.
For a full overview of our drywall repair and installation services across Hamilton, Ancaster, Burlington, and Dundas, visit our Hamilton Drywall Repair Services page.
Leave a Reply